How I weigh customer feedback, manufacturing cost, factory assembly, and usability when planning the next version.
When a client asks me to redesign a product, I usually start by asking what they want to improve and what’s led them to consider a new version.
Sometimes customers keep complaining about a feature. Sometimes the product is uncomfortable, difficult for the factory to assemble, or too expensive to manufacture. Sometimes the company wants to add a capability or give people a clearer reason to choose its product.
I want to understand the reason behind the request before deciding what to change.
Product redesign means revising an existing product to improve how it works, feels, looks, or gets made. For consumer electronics, a change can involve the enclosure, controls, internal layout, electronics, firmware, or several of these together. I start by looking at the problem and what already works.
When is a product redesign worth doing?
An existing product gives us feedback from people who have actually used it. That might reveal a recurring frustration: a control is hard to find, a wearable becomes uncomfortable, or charging interrupts the activity the product is meant to support.
The reason can also come from the business. Factory assembly takes too long, a component becomes difficult to source, or the product no longer stands out.
Technology, expectations, and competition keep changing. A better microphone, a useful connectivity improvement, or a different product experience can give people a stronger reason to choose an alternative.
When a product starts losing market share, I want to understand what has changed for its users. What do they now expect, and why are competing products becoming more attractive? That helps us identify which improvements could address the business problem.
If people still choose an outdoor speaker for its durability and dependable performance, those strengths deserve protection. I look for a clear reason to invest in a revision and a benefit its audience will value.
I start with the client’s explanation because they have information I cannot get by looking at the product alone. Customer messages, returns, supplier feedback, and sales information can all help. Then I research the product and its market myself, including reviews and competing products.
Sometimes that investigation points to a production change. A problem with how the factory puts the product together may be resolved through the process or equipment it uses. I want to understand that before recommending new parts.
Before development begins, I agree with the client on what we want to improve and how we will judge it. That might be a clearer interaction, a better fit, more reliable factory assembly, or a manufacturing quote that meets the target.
Which customer requests should shape the next version?
I start with reviews of the client’s own product, then look at competing products. Similar products may attract people with different priorities. I want to understand what matters to this product’s users before borrowing a solution from elsewhere.
I look for recurring patterns: what frustrates people, what they appreciate, and what changes after weeks or months of use. A surface that wears badly or a control that becomes annoying may tell us something the first impression cannot.
Two people can describe the same product very differently. One may value its main feature enough to overlook small flaws. Another may start with one frustration and notice several more. I want to understand what happened during use and whether the product helped that person do what they bought it for.
Suppose some customers want a smaller device and others want longer battery life. For an earbud, size and fit directly affect comfort. For a handheld tool, the priority might be lasting through a normal session of work. Carrying, grip, weight, and access to charging still matter, but their importance changes with the use.
The number of requests helps establish a pattern. It does not make the decision by itself. A less common problem may prevent an important customer group from using the product. A frequent request may offer little benefit once we understand what changing it would involve.
Users ultimately decide whether a product earns a place in their lives. I want to protect the function they value and remove avoidable frustrations, including small ones that make everyday use less satisfying.
What makes a product look and feel right for its users?
When a client says a product needs to look better, I want to understand what the design should represent to its users.
If I’m playing a military game, I might prefer a rugged keyboard with a military character because it belongs to that world. Someone choosing a keyboard for a quiet desk setup may want something very different. The people buying the product need to see something that feels right for them.
I ask what users want the product to say about them and what experience they want to be part of. A restrained form, the character of a rugged tool, or a playful gadget can each make sense for a different audience. The proportions, controls, materials, and finishes should support that character together.
Then I look at how the product feels to use. For a handheld or wearable product, that includes grip, weight, edges, texture, and the response of the controls. Is it comfortable after a few minutes? Is it secure when hands get sweaty? Does the finish still look and feel good after regular use?
Plastic can feel pleasant or unpleasant depending on the material, finish, geometry, and conditions of use. Molded textures can help with grip, while selected thermoplastic elastomers offer softer contact surfaces. I would compare samples and try them in the intended use, then review the manufacturing implications.
What does the user need to set up or attach?
This is another part of the experience. Here, I mean assembly or setup by the person using the product, such as fitting an action camera to a helmet or bicycle. Factory assembly is a separate question about how the manufacturer builds it.
A protective housing or a particular mount may be important for one group of users. Someone using the same core product in another environment may need a different configuration.
I look at how easily people can fit, secure, adjust, and remove those parts. A simple setup may be especially valuable to someone who uses the product occasionally. Another audience may accept more steps for a capability it needs. I want those steps to make sense for that person and avoid unnecessary effort or confusion.
How it's built. How it's used.
Two assembly decisions I review separately.
Factory assembly
Can this factory build it consistently?
- Part positioning
- Tool and cable access
- Consistent fit and finish
User setup
Can this user set it up easily and securely?
- Fitting attachments
- Adjustment and removal
- The intended environment
Both shape the quality people experience.
Do you need a complete redesign?
A product can need improvement without needing every part reconsidered.
If a prototype already works, I tend to be careful about changing working elements unnecessarily. With a product already in production, I also look at existing tooling, supplier arrangements, inventory, and the factory’s assembly process.
I want to know how much of the current design we can preserve while solving the problem. That can include the PCB, enclosure, mounting points, connectors, accessories, or tooling. I review the changes with the engineers and manufacturer to understand what can stay compatible.
Framework offers a documented example. In its 2023 Laptop 13 update, community feedback and surveys informed improvements to the display, hinges, and battery. Framework increased battery capacity within the existing battery form factor, with supporting firmware updates. It also revised the hinges within their existing physical constraints. Source: Framework
The lesson I take from that example is to investigate the options before assuming a better experience requires a larger enclosure or a completely new product.
A broader redesign may still make sense when the current arrangement prevents a meaningful improvement. I would explain why that scope is needed and what we gain from it.
What does one hardware change affect?
Adding or removing a button can look like a small change. It may make an important action easier, simplify the surface, or remove something users rarely need.
I first look at what happens to the task that button performs. Moving it into a menu might make a common action harder. Adding a control could improve access while requiring changes to the PCB and enclosure.
Updating the CAD is one part of the work. Depending on the product, the revision may also require a mold modification or new tooling, a revised PCB, firmware changes, and a different factory assembly sequence. Those changes can be a much larger commitment than the visible adjustment suggests.
What does one hardware change affect?
Possible consequences I review with the team.
A control changes
A button is added, removed, or moved.
- User experienceAccess, feedback, and everyday use
- ElectronicsPCB layout, firmware, and connections
- Enclosure and toolingOpenings, clearances, and possible mold changes
- Factory assemblyAccess, sequence, and consistent quality
What can stay, and what needs to change?
Once we know a tooling or PCB revision is justified, I go back to the customer feedback before finalizing it. What other worthwhile improvements could we make to the affected parts in the same revision? An awkward edge, an irritating clearance, or another detail may be worth addressing while those parts are already being changed.
I compare those opportunities with the extra cost, factory assembly work, and checks each change introduces. I want the revision to deliver useful improvements within a scope that makes sense for the business.
| Proposed improvement | What I would investigate |
|---|---|
| Longer battery life | Capacity, power consumption, charging, internal space, weight, and the actual usage pattern |
| A smaller enclosure | Component layout, grip or fit, clearances, antenna space, thermal behavior, and factory assembly access |
| Fewer physical controls | How users perform the same tasks, discoverability, firmware, PCB layout, and enclosure geometry |
| Easier factory assembly | Part orientation, fasteners, cables, tool access, tolerances, inspection, and servicing |
| Lower manufacturing cost | Materials, purchased components, geometry, production methods, factory assembly work, and order quantities |
| A more appealing appearance | Proportions, surfaces, controls, materials, and finishes, alongside function and usability |
I use a comparison like this in discussions with the relevant engineers and manufacturer. It helps us see which changes can stay local and which may spread through the product. I cover those physical relationships in more detail in my guide to PCB enclosure design.
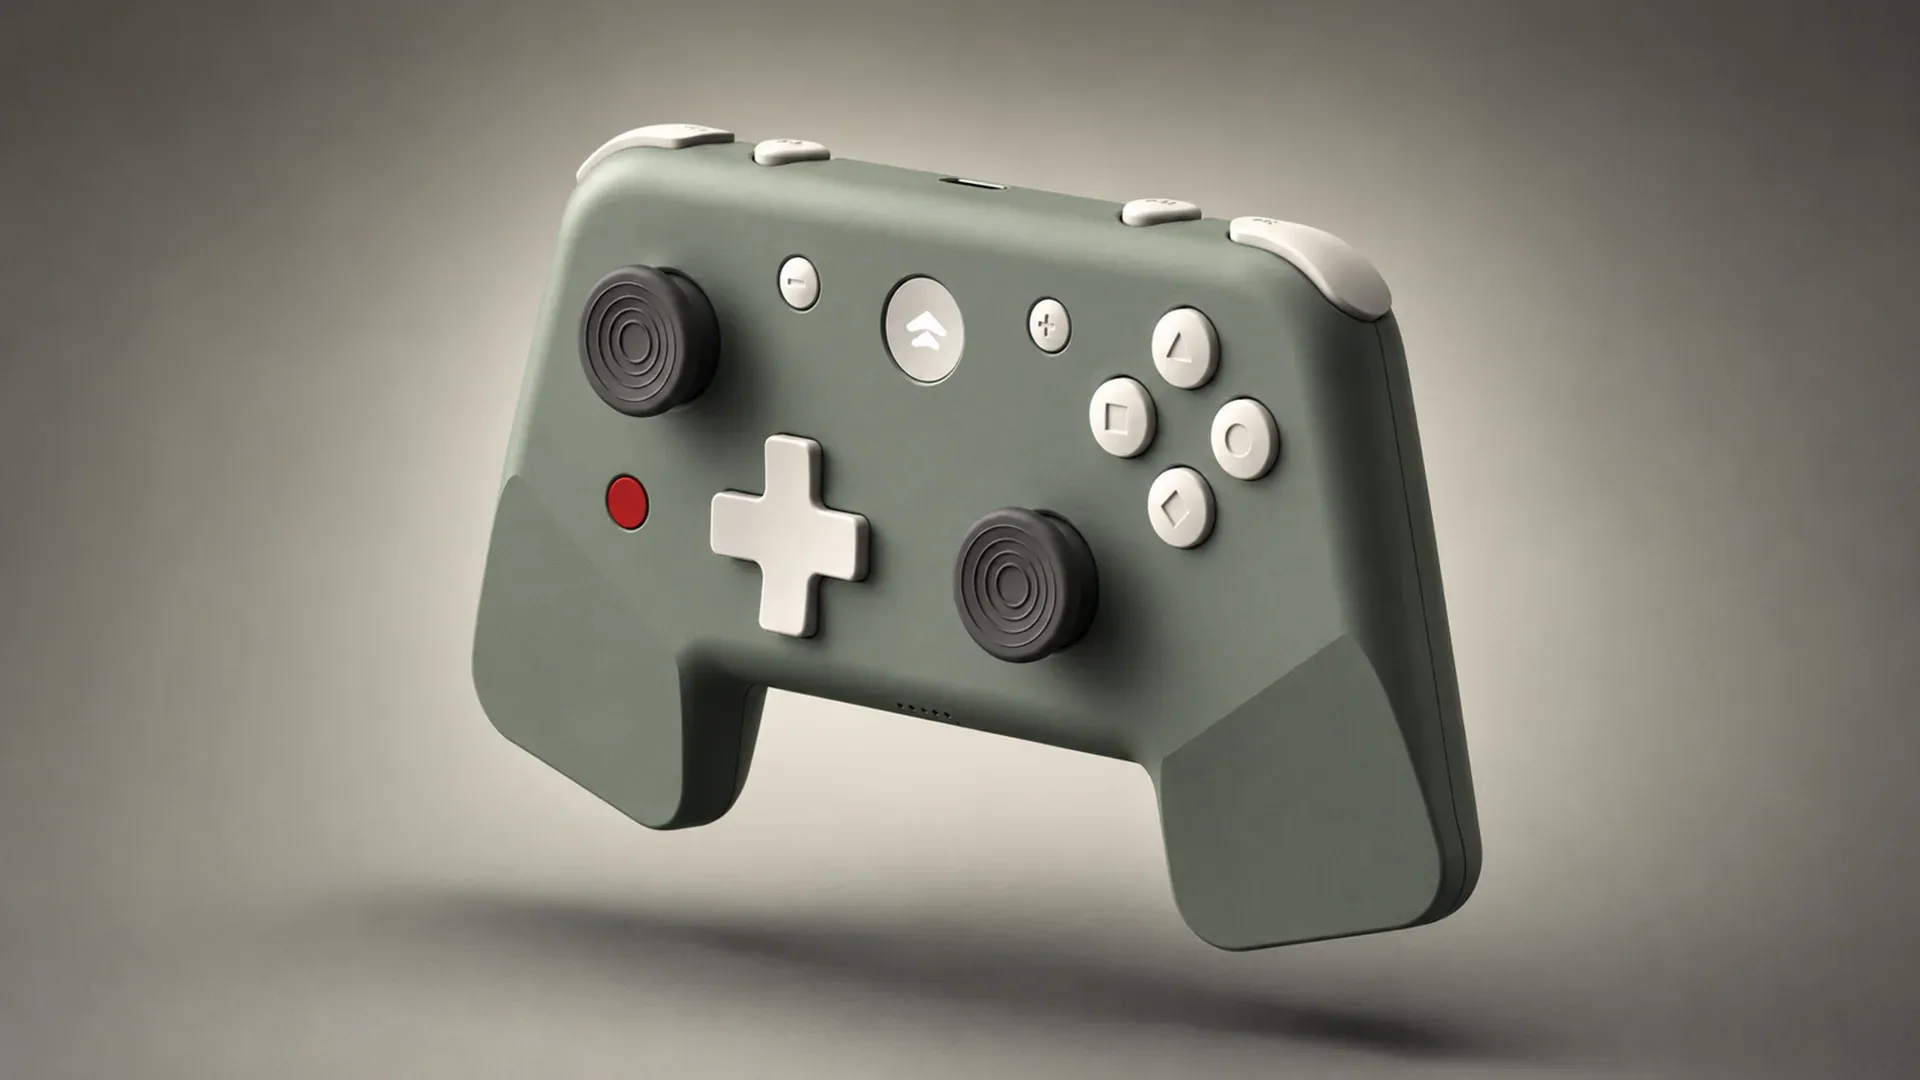
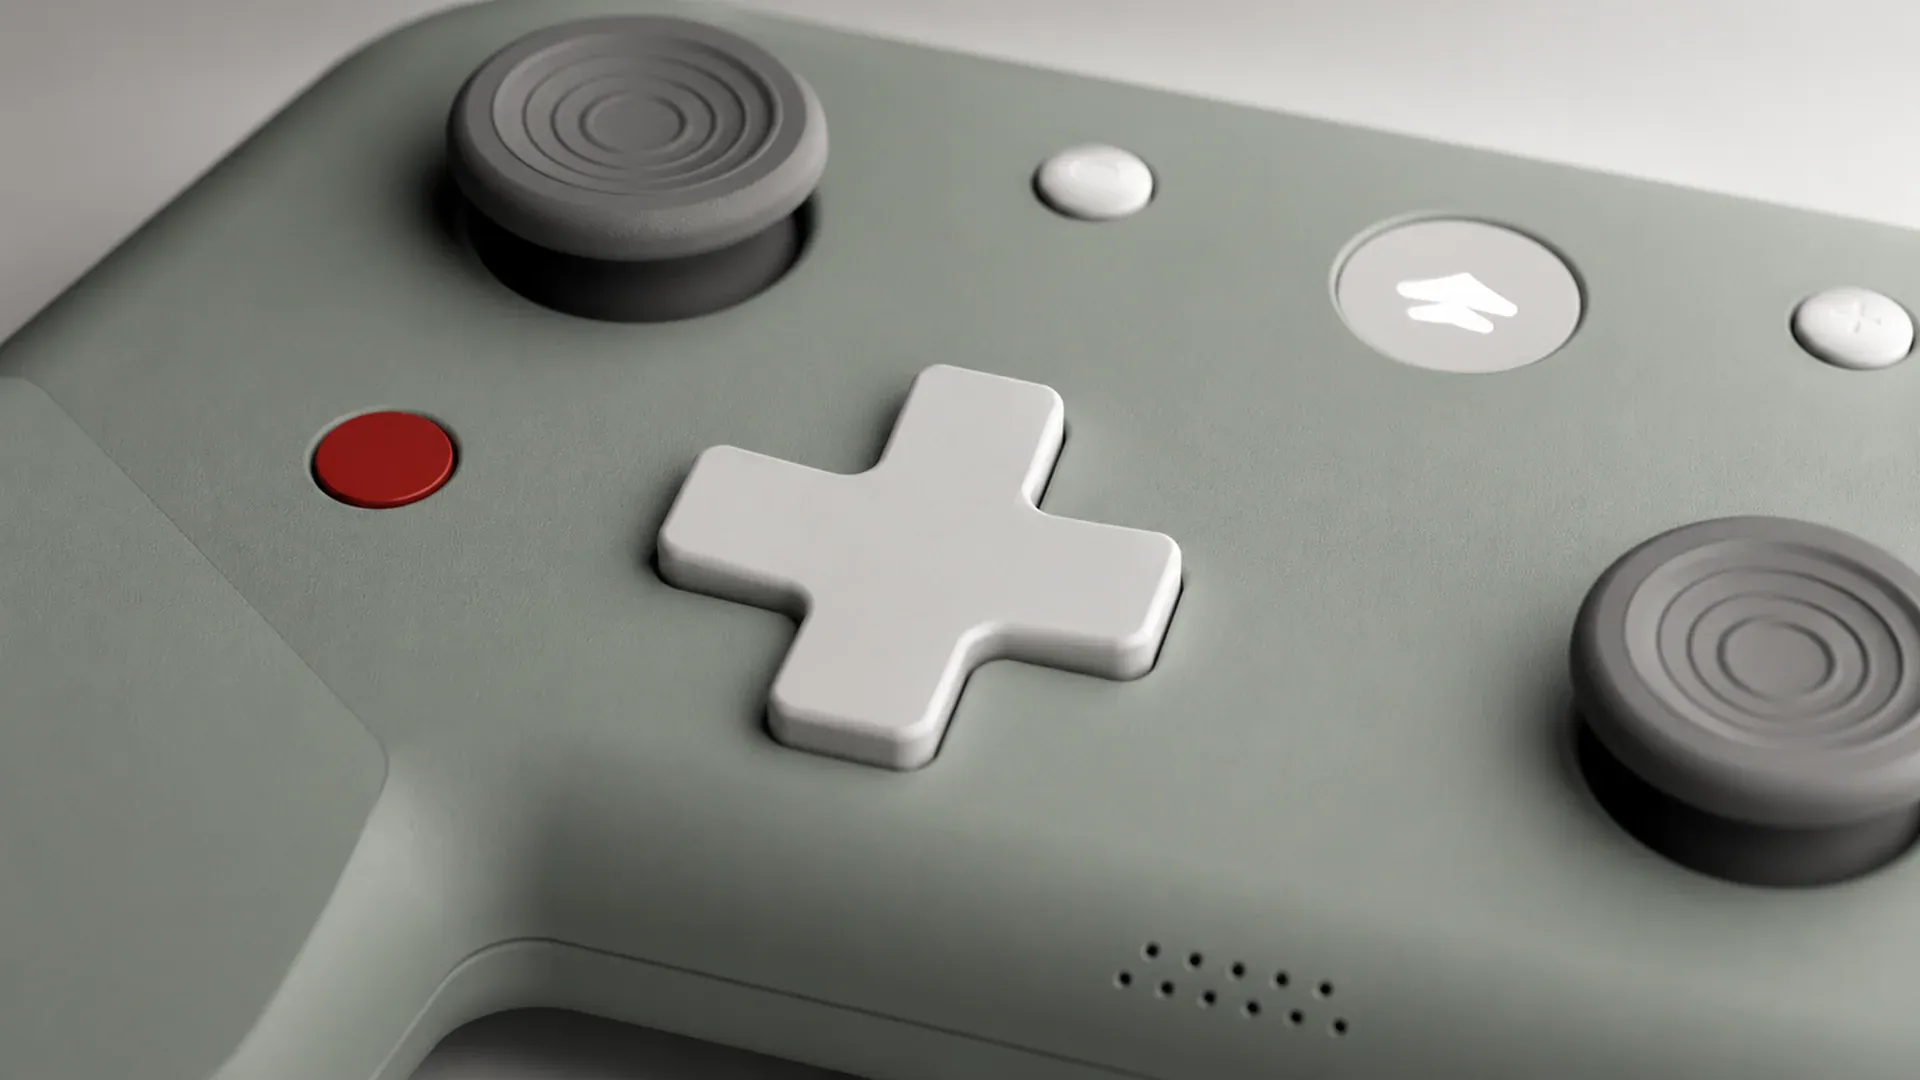
In developing the KiteGo controller, the manufacturer flagged the Bluetooth antenna’s interaction with the aluminum shell. I developed a plastic RF window next to the antenna and coordinated the solution with the manufacturer and client. The enclosure material, appearance, and electronics had to be considered together.
Valve’s Steam Deck OLED offers another example of improvements working together. Valve describes a larger battery alongside a more efficient processor and display, plus changes to cooling, controls, antennas, and repair access. Its battery life improvement involved several parts of the system. Source: Valve
How can design to cost guide a product redesign?
If a project has a target manufacturing cost, I treat it as part of the brief alongside function, quality, and usability. This is the idea behind design to cost. Boothroyd Dewhurst describes the approach as setting a target, evaluating the current design, and comparing changes against it.
For an existing product, I would start by asking where the cost is coming from. Is it a purchased component, the enclosure material, a finish, a difficult geometry, or the work needed to put everything together at the factory?
Then I discuss what must stay with the client. A cheaper solution has little value if it removes the feature people buy the product for, makes it uncomfortable, or creates another problem.
I compare alternatives using the current cost and intended production quantity, then review the effect with the manufacturer. A lower quote based on a much larger order tells us something different from a design change at the same quantity.
Will simplifying the product actually reduce cost?
Fewer parts can be worth investigating. Part count alone does not tell us what the manufacturer will charge.
A combined part might be more difficult to make. A different material or finish may change the quote. Removing a component may introduce development work elsewhere.
In a redesign of a home product, I simplified the construction and reduced the part count, but the manufacturer quoted a higher price than the existing product. The client also needed a new design because the current version was losing market share. We had to consider what the new design offered alongside what it would cost. Fewer parts had not automatically produced a cheaper product.
When cost is the reason for a redesign, I separate two questions:
- What will each unit cost to manufacture after the change?
- What will it cost to develop, check, and introduce that change?
The second question can include design and engineering work, prototypes, tooling, testing, and the transition from the current version. I compare supplier quotes at the same quantity and with equivalent materials, finishes, and requirements. I also want to know whether tooling, factory assembly, and testing are included or listed separately.
If the justification is unit savings, I would check how many units need to sell before those savings cover the additional upfront expense:
Additional upfront cost ÷ net saving per unit = units needed to recover that cost.
This assumes a positive net saving on each unit and a realistic sales quantity. It is a starting point for the direct cost comparison. Better usability, fewer returns, or clearer differentiation may also matter, and I would discuss how we expect to assess those benefits.
Sometimes a simpler design comes back at the same quoted unit cost. I would ask the manufacturer what drives that quote at the intended quantity and which changes would affect it. A reduction in material or part count may leave the production method and factory assembly work largely unchanged.
If the quote stays the same, I return to the user: what can we improve within that cost? A better grip or an easier control may still make the revision worthwhile. I would review the specific change with the manufacturer, including tooling or development expense, before treating it as an improvement at the same cost.
A redesign can make sense even when its unit cost stays the same or increases. I want to understand what that investment gives the business and its users.
How can design for assembly improve the next version?
Here, I mean factory assembly: how the manufacturer puts the product together. Design for assembly (DFA) looks at the parts, how they are handled and positioned, how they join, and whether people and tools can reach them. Boothroyd Dewhurst’s guide explains the method.
For me, the starting point is whether the factory can build the design consistently at the quality we have agreed on. If a process depends on someone struggling to align a part, route a cable, or reach a fastener, I want that resolved before we approve it.
Factories have different equipment, methods, and working arrangements. I involve someone from the manufacturer’s production side in the review so we can understand how they would actually assemble it and where they see difficulties.
I also want the expected quality to be clear. A product or sample the client and manufacturer can examine gives us a useful reference for fit, finish, and construction. We can then discuss what needs to match that reference, where we want to improve it, and how the factory will achieve it consistently.
These are some of the questions I would work through with the manufacturer:
| What I look at | Question for the review |
|---|---|
| Separate parts | Does each part need to stay separate for its material, movement, factory assembly, or servicing? |
| Positioning | Can parts locate themselves clearly, or does someone have to hold and align them? |
| Fasteners | Can screw types and tool changes be reduced while keeping the joint suitable? |
| Access and cables | Can tools and connectors be reached, and can cables be routed without getting trapped? |
| Assembly mistakes | Where could a part be installed backward or a connection missed? Can we make that less likely? |
| Repair | Can the product still be opened and important components reached? |
Before committing to revised tooling, I would work through the proposed sequence with the manufacturer using representative parts. I want to understand the time involved, the risk of mistakes or rework, and whether the design can meet the agreed quality and reliability expectations.
What determines a redesign’s budget and timeline?
The scale of the visible change is not a reliable measure of the work involved.
Before estimating a project, I would look at:
- What needs to improve and what must remain compatible.
- Which design files and technical information are available.
- Whether the solution affects electronics, firmware, mechanical parts, or tooling.
- Which prototypes, supplier reviews, and tests are needed.
- How the revision will move into production.
That helps me explain the likely scope, who needs to contribute, and what we still need to find out. Those details shape the estimate.
How do you check whether the revision is better?
A render helps communicate the proposed direction. Physical models, functional prototypes, and production samples let us examine different parts of the experience.
I choose the checks around the problem. If the goal is comfort, I want to assess comfort during the intended use. If it is factory assembly, I would review the current and proposed sequences with the manufacturer. If it is cost, I need comparable quotes and a clear understanding of what they include.
When I review a prototype or sample, I pay attention to the small actions that shape the experience. A button that needs an awkwardly deep press, a lid that leaves too little room, or an attachment that feels insecure can interrupt something the user expects to be straightforward.
If the revision is meant to make an interaction smoother and that friction remains, it needs more work. Repeated small frustrations can change how people judge the whole product. Each prototype is a chance to understand what is still getting in the way, gather feedback, and refine the design.
If the revision involves an enclosure made by injection molding, my guide to moving from a 3D printed enclosure to injection molding covers the decisions to resolve before tooling.
I come back to what we agreed to improve and check whether the revision has weakened anything people already valued.
Five questions for the team
Before you approve the next product revision
These five questions can help a team discuss a proposed revision:
- What user problem are we solving?
- What should remain unchanged?
- Which parts, tooling, electronics, and factory assembly steps will this affect?
- What else is worth improving in those same parts?
- What will the revision cost, and how will we assess the improvement?
What should you prepare before starting?
You do not need a perfectly organized technical archive before the first conversation. I would start with what you have:
- The current product or working prototype.
- Your explanation of what needs to change and why.
- Customer reviews, complaints, support messages, or return reasons.
- Available CAD, drawings, schematics, bill of materials, and firmware information.
- Supplier feedback, quotes, tooling information, and expected order quantities.
- Budget, timing, and compatibility constraints.
We can identify missing information early and include it in the investigation.
You work directly with me to connect the user experience, appearance, physical construction, and manufacturing decisions. I collaborate with electronics engineers and suppliers as the project requires.
The aim is a clear scope: what we plan to change, what we intend to preserve, why those choices make sense, and how we will evaluate them.